How to Isolate Bacterial Colonies Using the Streak Plate Method
A protocol to isolate bacterial colonies is a crucial tool for any life scientist to have in their toolbox. There are several different variations of a procedure called streaking (insert funny comments here.) I would like to go over one I used countless times during my studies for my biomedical engineering degree. That procedure is called the Streak Plate Method using quadrants.
The idea behind streaking for single bacterial colonies has to do with purity. When you have a single colony isolated from the rest of the colonies on the plate, it is a pure colony “grown up” from a single bacterium (that was isolated from the rest of the sample, streaked out on the plate). A pure, isolated colony is what scientists want to start with before beginning an experiment; it allows for consistency and assurance that your sample isn’t contaminated with any other strains of bacteria.
Quadrant Streak Plate Method
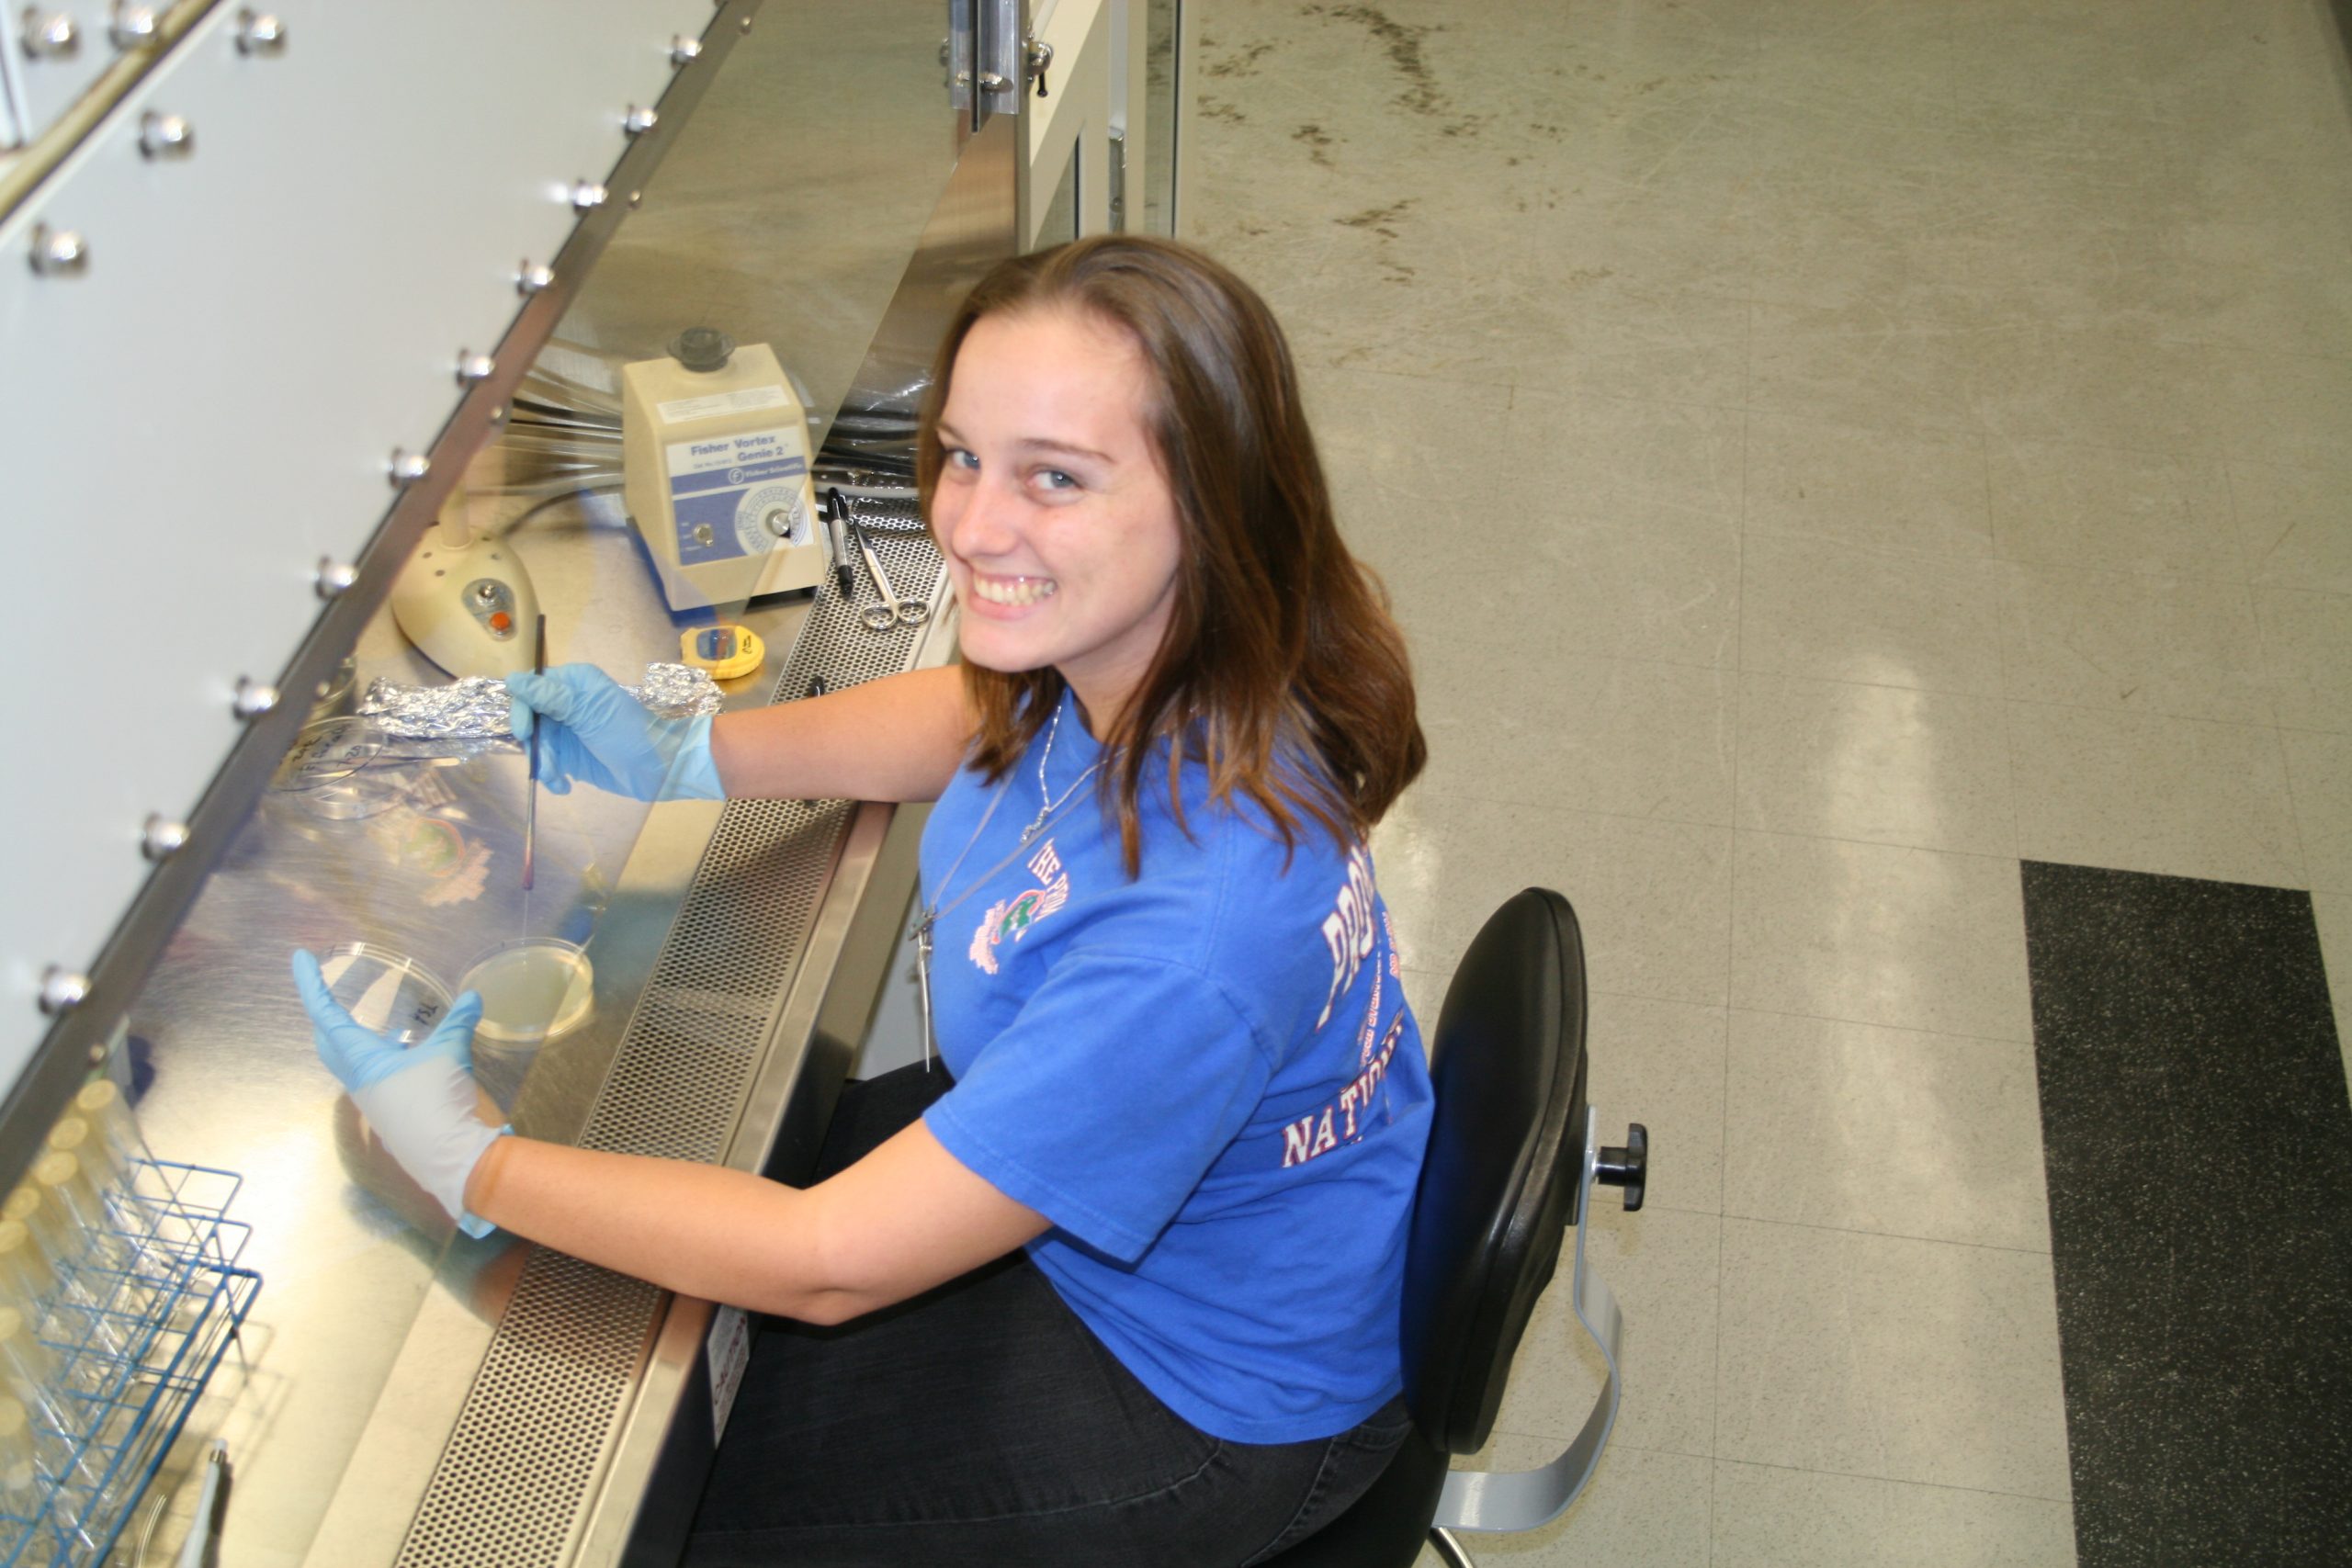
Step 1: Obtain the proper media plate for your bacterial sample, such as an LB agar plate; label the bottom with your name, date and bacterial species, and set up your materials in a sterile environment such as a laminar flow hood or next to a Bunsen burner with a clean bench top.
Step 2: Aseptically transfer a very small amount of your sample to the edge of your agar plate. Your sample may be liquid (gathered with a pipet, sterile loop, or sterile swab), frozen (gathered with a sterile toothpick), or from another agar plate (gathered with a sterile loop). Regardless of the type, deposit your sample on the outer edge of the agar plate and use your sterile loop to spread out the sample. Spread it in a zig-zag manner along one quadrant of the plate from the edge inward approximately 1.5 cm.
Step 3: Sterilize your loop using a Bunsen burner or a “cinerator” such as this. Allow the loop to cool (without setting it down) for several seconds. Then, drag the loop gently through your first quadrant (only once.) Continue to streak the second quadrant of your plate in a similar zig-zag manner from the outer edge of the plate inward.
Step 4: Again, sterilize your loop and let it cool. Then, drag the loop through the second quadrant once, and zig-zag streak the third quadrant of your plate from the edge inward. Repeat for your fourth quadrant.
Step 5: Incubate your plate based on the needs of the bacterial species you are trying to isolate. Then check for your colonies 24 hours later.
Diagrams

b) The diagram on the right shows an approximation of what your plate may look like after incubation. Note the thickest, densest amount of bacteria in quadrant one (no isolated, individual colonies) and the correspondingly fewer number of colonies in quadrants two, three and four. With isolated colonies in quadrant four, that would be easy to obtain (without touching any other colony) using a sterile loop to start an experiment!
Source: Elte.prompt.hu
%CODE1BIOMEDICALENGINEERING%


Hi Kerney! Thanks for showing how to use this tool.
As I learned, the streak plate method is a rapid qualitative isolation method. The techniques commonly used for isolation of discrete colonies initially require that the number of organisms in the inoculums be reduced. It is essentially a dilution technique that involves spreading a loopful of culture over the surface of an agar plate. The resulting diminution of the population size ensures that, following inoculation, individual cells will be sufficiently far apart on the surface of the agar medium to effect a separation of the different species present. Although many type of procedures are performed, the four ways or quadrant streak is mostly done.